• In our case, telecine means Super 8 and 16 mm projectors that have been equipped with a digital camera that records the footage in macro, one frame at a time, the instant that each frame stops in the projector gate.
• There is a telecine for Super 8 (also possible for regular 8 mm), with a 1280 x 960-pixel camera, and one for 16 mm with a 1388 x 1036-pixel camera.
• The captors have a 4/3 ratio, therefore, it is not possible to digitize Super 16. It would crop the edge of the image and could potentially scratch the film.
• On the other hand, since the resolutions are very close to HD, we can easily convert the captures into standard HD files with black bars to the left and right of the 4/3 image. It is also possible to keep the capture’s 4/3 ratio and original size in most editing software, even if this is unusual.
• Even though the projectors are not intended for this kind of use, since we are not afraid, we do put negatives through them, as well. This allows us, above all, to avoid spending money on super-expensive telecines – money better spent at the end for striking a print or making a nice scan, digitizing only the footage that is used in the edit (partial scanning using an “EDL”).
• When this is the plan – to digitize the negative on the telecine while leaving open the possibility to later go back to the shots that are used in the edit, whether for a negative cut or an EDL scan – there is a step to keep in mind: 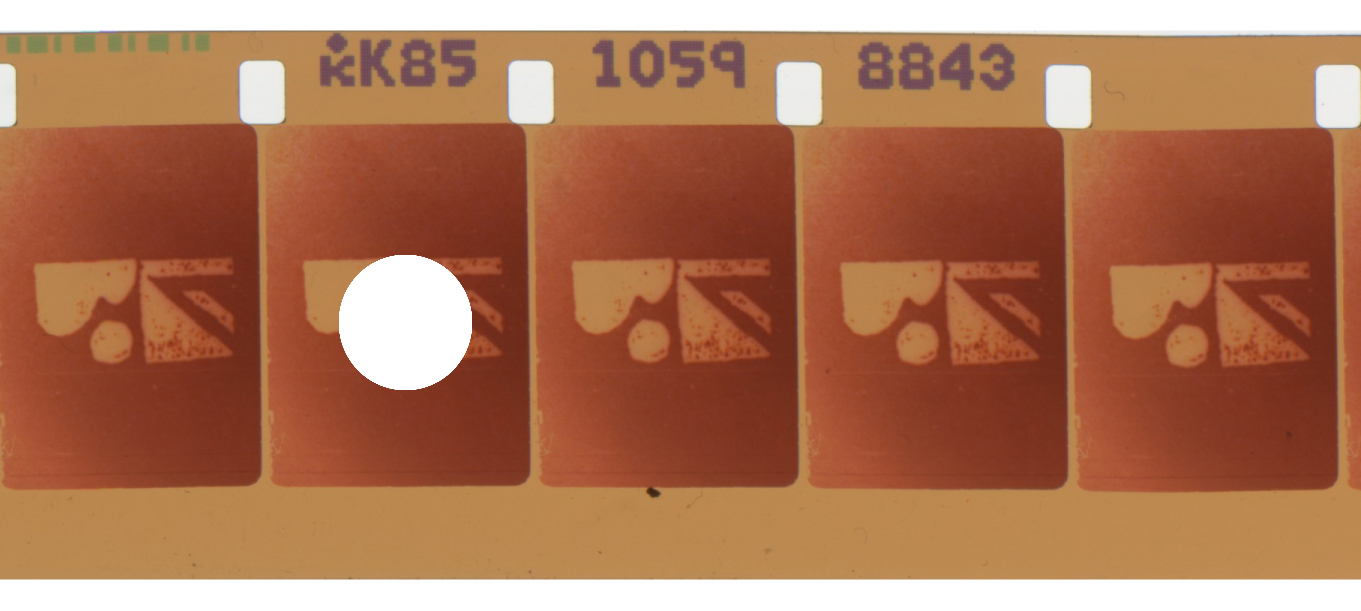 when preparing the reels, one has to make a hole punch at the beginning of each roll and reference the corresponding keycodes in Cinematools of Final Cut 7, etc.
• PTR rollers in the film path (on the 16 mm telecine) help to minimize dust on the strip so it doesn’t end up in the capture. The film can also be cleaned beforehand. In principle, it comes out clean from the processing machine, but film handling can be perilous…
• The type of capture we use is not exactly the same for negative film (where we capture a series of still images onto an SSD) or positive film – whether a reversal original or a print (in this case, the capture is done as an AVI video file). One shouldn’t mix up the processes! When working with positives, we directly export a Quicktime MOV file; with negatives, we have to invert the image in DaVinci Resolve. For color, we have a special plugin that eliminates the orange mask.
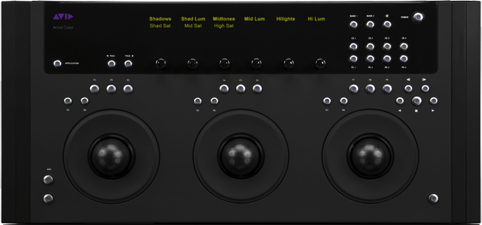
• When we invert the image from negative, it may be necessary to add the extra step of color-correction. This can either be done to all the footage at once or shot by shot or sequence by sequence, if we want have a more polished result (but this takes time and, in most cases, can be done later). For example, it can be quite difficult to figure out the settings when working with an expired film stock. Fortunately, the color-correction console makes the process a bit more intuitive…