• Although this is the final step of the process, it involves learning many new skills, even when one is already well-versed in film processing or even printing! For this reason, we ask that filmmakers who plan to make a sound print let us know this, so that we can invite them to first participate in the striking of a sound print of another member. This allows the filmmaker to first go through all the steps as a viewer, so that it’s not so confusing when it comes to his or her own film.
• We can do this in 16 mm or in 35 mm, but in most cases, a 16 mm print is made. 35 mm is more “chic” but also more expensive, especially when it comes to the sound negative, and quite time-consuming, since processing time has to be multiplied by 2.5 (since a 35 mm print is 2.5 times longer in meters than a 16 mm film of the same running length!). Paradoxically, also, since portable 16 mm projectors are more common, these days it is often easier to show a film in 16 mm than in 35 mm.
• When it comes to color 16 mm prints with sound, at this time we are limited to making “skip bleach” prints, which means an image that is visibly different from a “normal” one. This is because the black that we obtain with the dyes present in color print stock cannot block infrared, so the exciter bulb of the projector would receive light even when it shouldn’t, which would greatly affect the sound quality. So, it’s important to retain silver in the soundtrack area, which has to be done with a device in the developing machine that we do not (yet) have. As a result, we retain the silver in both the soundtrack and the picture areas by skipping the bleach. That problem doesn’t exist with black and white.
• The striking of the print can begin once we have passed two previous steps:
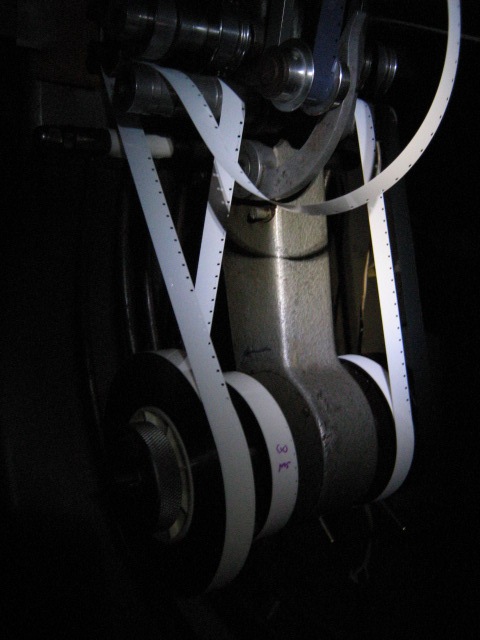
– the negative cut, which means finding all the shots that we have used 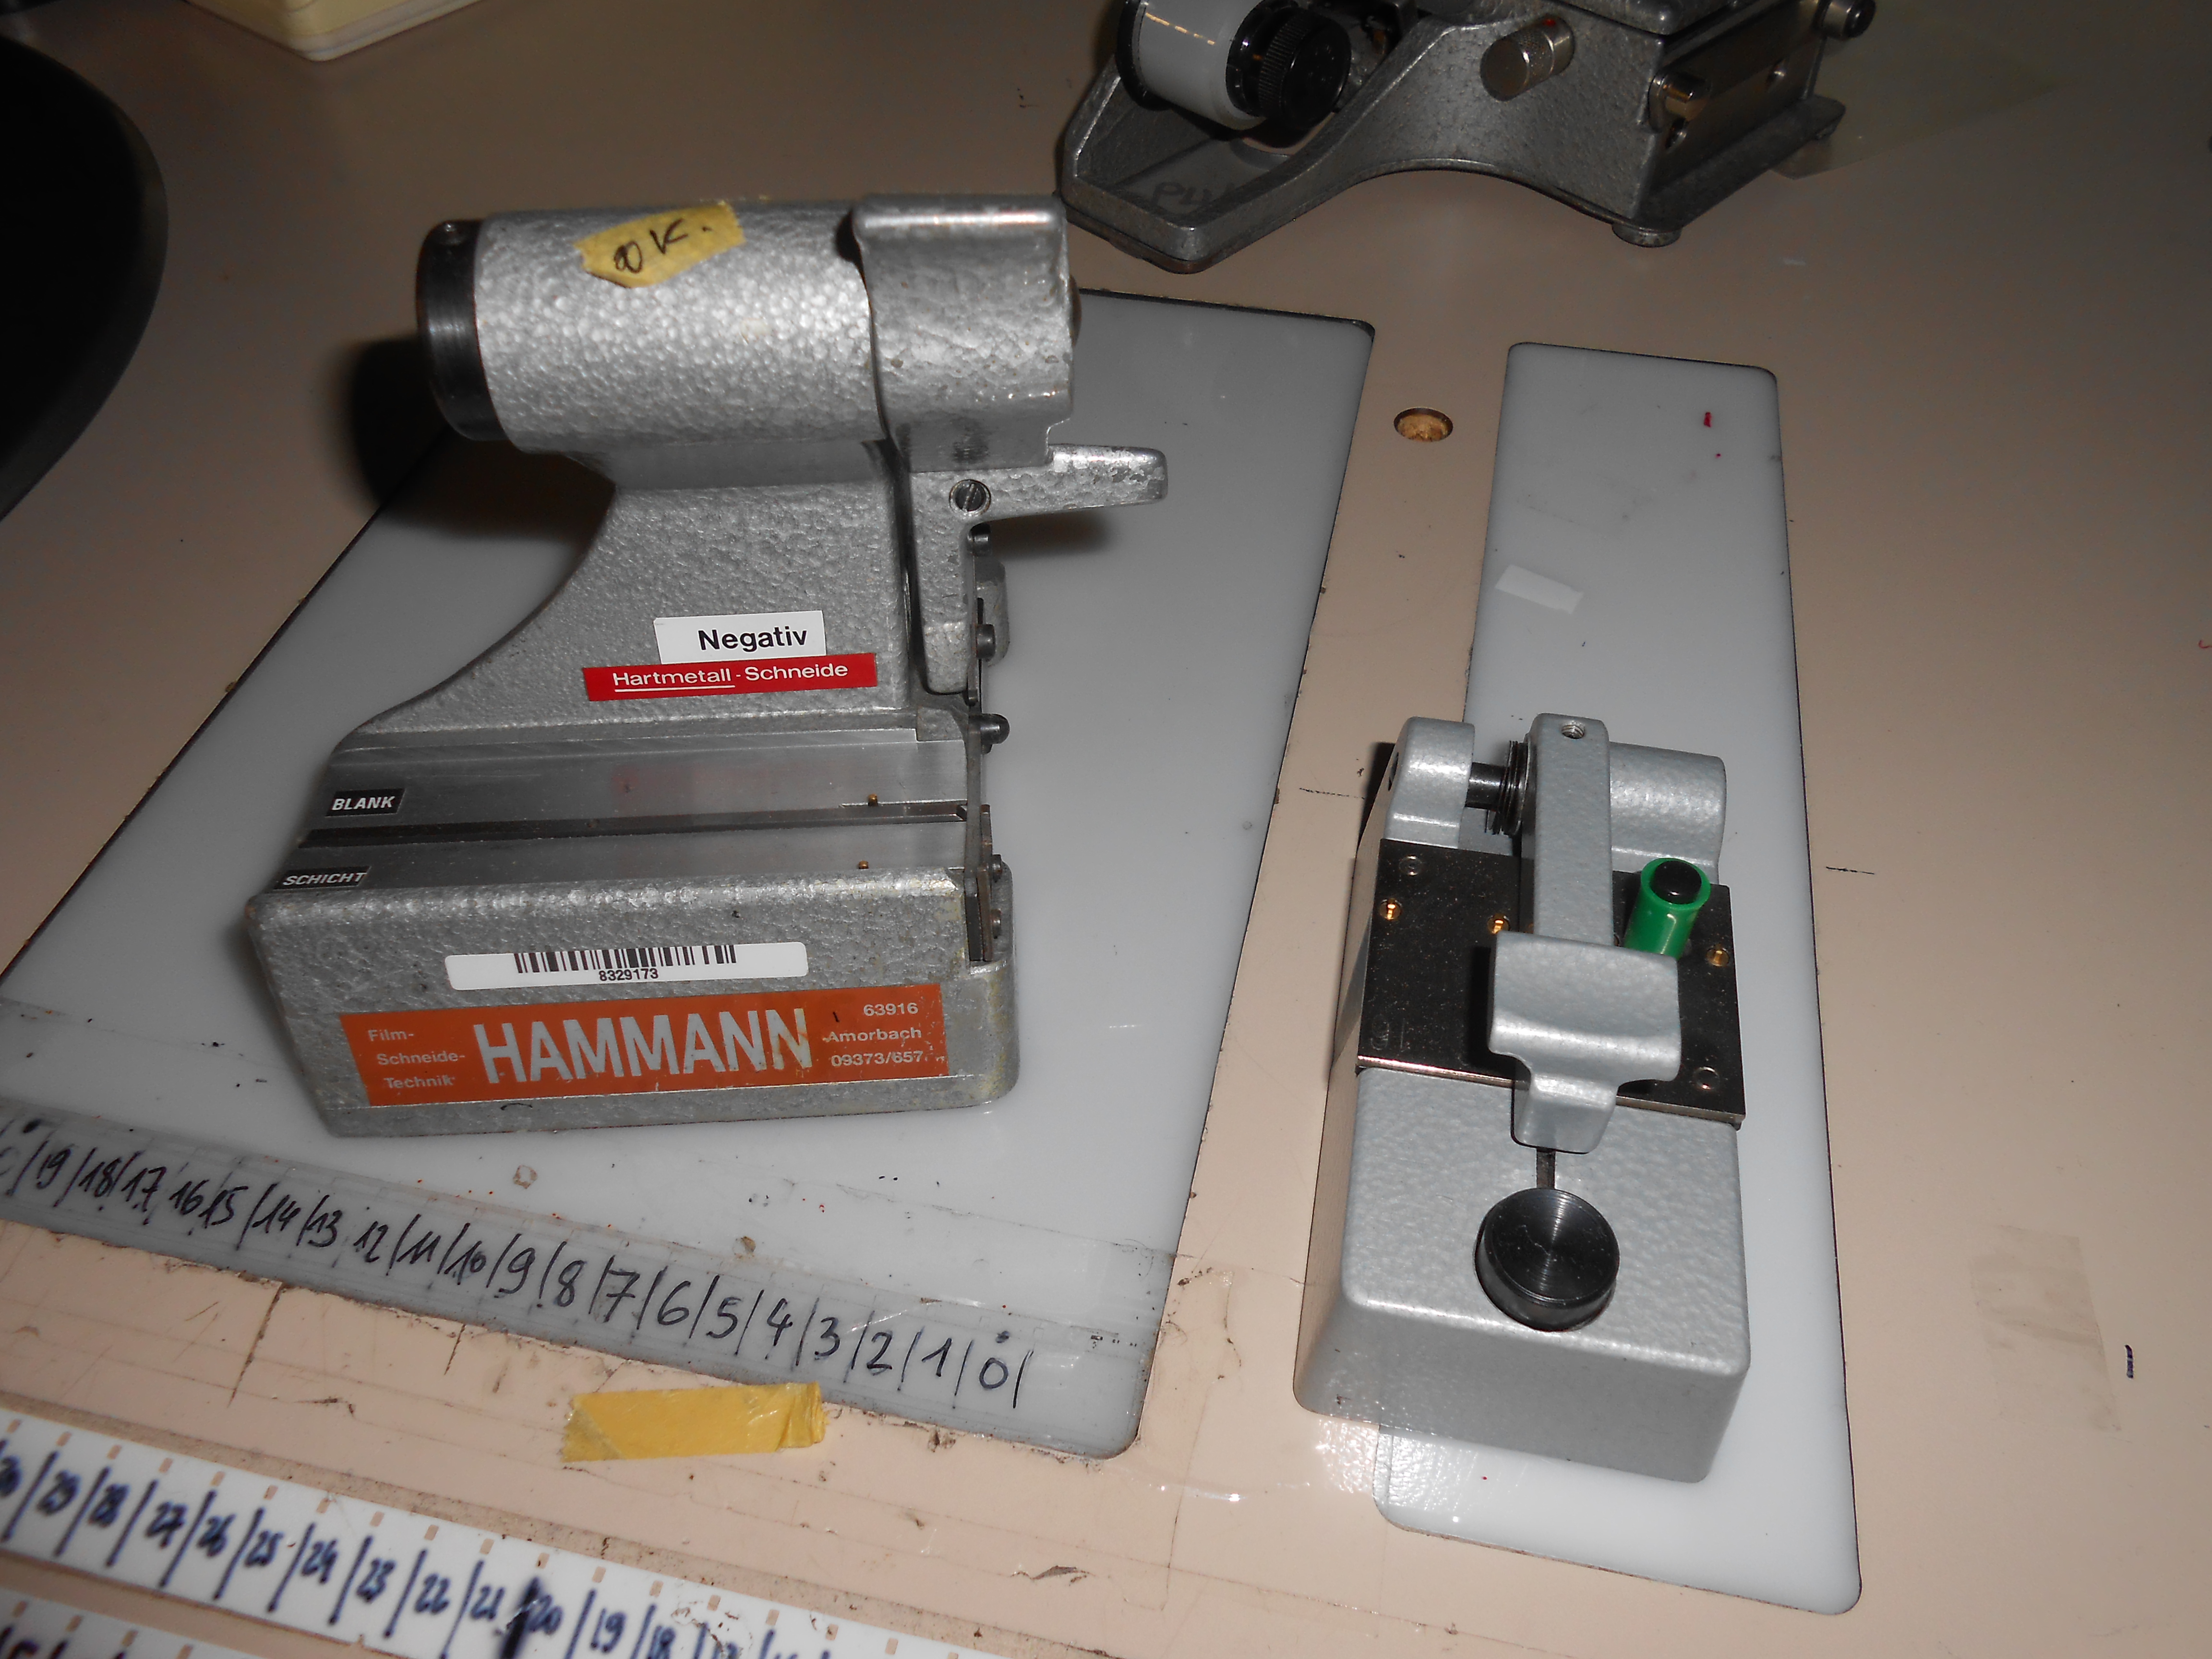 in the edit by going back to the negative reels, cutting them at the right points and assembling them in the order of the edit. In principle, at this stage, the assembly is done with cement and minuscule beveled cuts that are invisible during projection. This is done both for preservation reasons and so that the negative goes more smoothly through the contact printer. The strips of film should be handled very carefully to ensure their cleanliness. This is certainly one of the most difficult techniques to master; fortunately, alternatives exist, such as having this work done by a professional (this is still possible) or compromising by assembling the shots with splicing tape on a “normal” splicer. At this step, also, we save a few frames of each shot, taken from the head or tail outtakes, which will be used to make a a “wedge test,” a kind of summary of the film’s shots that will be useful during the color-timing step.
– the sound mix. 16 mm sound is mono (in practice, one should bring a 48 kHz double mono file, of the mix with the same sound in both channels), and there are a number of rules that one should respect to prevent getting an unpleasant surprise when listening to the final print. The first, fundamental, rule: the range of volume between the softest and the loudest sounds (the “dynamic range”) must be no greater than 30 dB (compared to 100 dB that we can have with digital audio). One should also keep in mind that a 16 mm optical soundtrack cannot reproduce high-pitched sounds beyond a certain frequency. To approximate the result, one can listen to the sound mix through a filter that simulates the outcome. There is more information on this page: Mixing for 16mm optical sound
• Once the negative cut and the sound mix are in order, the striking of the print can truly begin! – we check the sync between the negative cut and the sound mix file. To do this, we watch the film in negative on an editing table! At this stage, we add the sync beeps to the head and tail of the film. – we play back the new sound mix file with the beeps and we send it to the sound camera  in order to expose a special black and white negative, which, once developed, will be the “sound negative,” meaning that it will only carry the optical soundtrack.
– we add sync point marks on both negatives: the edited picture negative and the sound negative, so that we can thread them in such a way that they will run in sync in the contact printer.
• we run the wedge test with negative images through the contact printer in order to do the first color-timing test. Then, we choose the light values and print this wedge test until we are satisfied with the color-timing of all the shots.
• once the color-timing is finished, we test the exposure of the optical soundtrack, which we can determine thanks to a signal we have added to the sound mix at the optical sound recording step: an intermodulation signal, a kind of ‘DNA’ of the sound negative that helps us determine the perfect light value for printing the sound.
• and finally, the moment has arrived for us to put everything into the contact printer: the sound negative, the picture negative, and the raw print stock, and we launch the print, which, naturally, we develop in the same conditions as all the preceding tests. This is the reason why it’s wisest, if we plan to make multiple prints, to make them all at once.
One should anticipate about a week of lab work to make a release print for a short film, for which the negative cut and sound mix have been done beforehand.